
Himalayan Salt Wall Lighting: How to Plan LED Backlighting

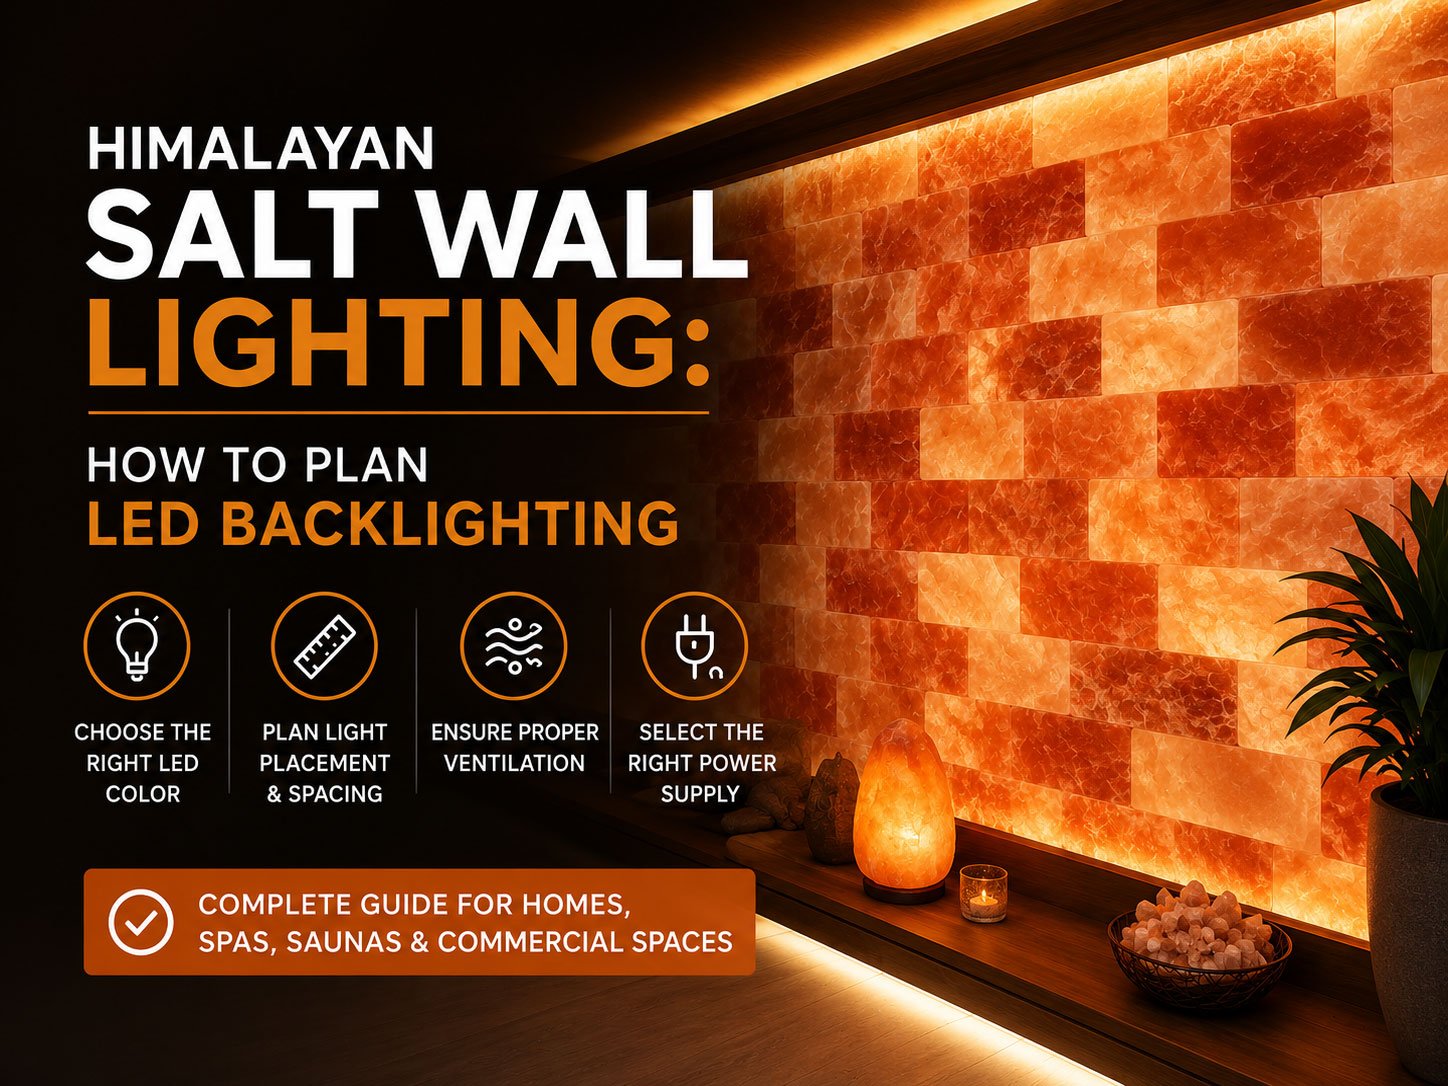
Himalayan salt wall lighting can completely change the appearance of pink salt tiles and bricks. A well-planned LED system highlights natural colors, reduces dark spots and creates a balanced glow in homes, spas, saunas, restaurants and wellness spaces.
However, backlighting should not be added as an afterthought. The wall depth, salt thickness, frame design, LED position, ventilation and electrical access should all be considered before the first tile or brick is installed.
A little planning at the beginning can prevent dark spots, visible wires, uneven lighting and difficult repairs later.
Why Himalayan Salt Wall Lighting Matters
Himalayan salt is naturally translucent, but different pieces allow different amounts of light to pass through them.
Some tiles may glow brightly, while darker pieces may appear deeper orange or red. White salt tiles usually transmit light differently from pink salt tiles. The final appearance therefore depends on both the salt material and the lighting system behind it.
Good Himalayan salt wall lighting should reveal natural color variations without making every tile look identical.
Backlighting can help:
- Highlight natural color variations
- Make the wall visible in low-light environments
- Create depth behind the salt surface
- Turn a plain wall into a focal point
- Support a warmer interior design
- Improve the presentation of spas and commercial spaces
The goal is not always to make every tile look identical. Natural variation is part of the character of a real salt wall. The lighting should make the overall wall look balanced without removing these natural differences.
Choose the Salt Material First
The lighting plan should be based on the type of salt material being used.
Pink Salt Tiles
Pink salt tiles are commonly available in an 8 × 4 × 1-inch size. Their thinner profile makes them suitable for illuminated feature walls and decorative panels.
Because they are approximately one inch thick, light can pass through them more easily than through thicker salt bricks. They are often selected when a brighter and more even glow is desired.
Pink Salt Bricks
Pink salt bricks commonly measure 8 × 4 × 2 inches. Their additional thickness creates a heavier and more substantial appearance.
The light passing through a two-inch brick may appear deeper and more concentrated. Bricks can work well for spa walls, sauna interiors, salt rooms and commercial installations where visual depth is important.
White Salt Tiles
White salt tiles can create a lighter, softer and more modern appearance. Their color may look cream, pale white or lightly translucent when illuminated.
They can be used on their own or combined carefully with pink salt pieces. Mixing colors should be planned before installation because white and pink tiles may produce different brightness levels.
Decide the Desired Lighting Effect
Before selecting LED strips, decide how you want the wall to look.
Soft Ambient Glow
A soft glow works well in bedrooms, massage rooms, meditation spaces and relaxation areas.
For this effect, the LEDs should not be excessively bright. Warm lighting and sufficient space between the LEDs and the salt surface can help create a smoother appearance.
Bright Feature Wall
Reception areas, restaurants, hotels and commercial wellness centers may require a brighter wall that remains visible during the day.
A stronger LED system may be required, but brightness should still be controlled. Extremely bright LEDs placed too close to the salt can create visible lines or glowing dots.
Dramatic Light and Shadow
Some designers intentionally use stronger and weaker areas of light to create texture. This can work with darker salt bricks and irregular patterns.
However, random dark patches caused by poor installation should not be confused with an intentional lighting design.
Best LED Color Temperature for Salt Wall Lighting
LED color temperature strongly affects how the salt appears.
Warm White
Warm-white lighting usually falls around 2700K to 3000K. It brings out amber, orange and reddish tones and is often the most natural choice for Himalayan pink salt.
It works particularly well in:
- Spas
- Bedrooms
- Saunas
- Restaurants
- Meditation rooms
- Wellness centers
Neutral White
Neutral-white lighting is usually around 3500K to 4000K. It provides a cleaner and slightly brighter appearance.
It may be suitable for:
- Modern interiors
- Commercial reception spaces
- White salt tile walls
- Offices
- Retail displays
Cool White
Cool-white lighting can make the wall appear pale or less natural. It may reduce the warm amber character normally associated with Himalayan salt.
It can be used for a specific modern design, but it should be tested before installing it across the entire wall.
For most pink salt projects, warm white is the safer starting point.
Test Salt Wall Backlighting Before Installation
Testing Himalayan salt wall lighting on a small sample panel can prevent expensive changes after the wall is completed.
Lighting should be tested using actual salt pieces.
Place several tiles or bricks in front of the selected LED strip and view them from the same distance planned for the completed wall.
Check the sample in both daylight and evening conditions.
The test should answer these questions:
- Is the light bright enough?
- Are individual LED dots visible?
- Do darker tiles create unwanted black areas?
- Does the chosen color temperature look natural?
- Is the lighting too orange or too white?
- Is the distance between LEDs and salt sufficient?
- Will a dimmer be needed?
A small test section is much cheaper to adjust than an entire completed wall.
Leave Enough Space Behind the Salt
One of the most common lighting mistakes is placing the LEDs too close to the salt surface.
When LED strips sit directly behind the tiles, individual points of light may become visible. This creates bright lines, dots or uneven patches.
A gap between the lighting and the back of the salt allows the light to spread before passing through the material.
The correct distance depends on:
- LED brightness
- Strip spacing
- Salt thickness
- Wall dimensions
- Reflective backing
- Desired visual effect
There is no single perfect distance for every project. A test panel should be used to confirm the spacing.
Use a Reflective Back Surface
A light-colored or reflective surface behind the LEDs can improve light distribution.
Dark backing material may absorb part of the light and create uneven results. A clean white, pale or reflective backing helps redirect the light toward the salt surface.
The backing should also be suitable for the installation environment. It must not trap moisture or interfere with ventilation and electrical safety.
Avoid using highly flammable or unsuitable materials around LED drivers and electrical components.
Himalayan Salt Wall Lighting Placement
LED strips should be positioned to provide balanced coverage.
Possible arrangements include:
- Horizontal rows
- Vertical rows
- Perimeter lighting
- A grid pattern
- Lighting around individual wall sections
For many rectangular salt walls, evenly spaced horizontal rows provide practical coverage.
Large gaps between rows can create dark horizontal bands. Placing strips too close together may produce excessive brightness, unnecessary heat and higher power consumption.
The installer should consider the wall height and width before deciding how many rows are required.
Avoid Cutting or Joining Strips Randomly
LED strips should only be cut at the manufacturer’s marked cutting points.
Improper cuts can damage the circuit and cause sections of the strip to stop working.
When joining strips:
- Use suitable connectors
- Protect exposed contacts
- Check polarity
- Avoid loose wires
- Test every section
- Keep connections accessible where possible
For larger installations, an electrician should confirm the power requirements, wire size, driver capacity and safe connection method.
Calculate Power Requirements
A salt wall may require several meters of LED strip. The total electrical load must be calculated before selecting the power supply.
The calculation depends on:
- Wattage per meter
- Total strip length
- Voltage
- Number of lighting zones
- Dimmer requirements
- Driver capacity
The power supply should not be operated continuously at its absolute maximum rating. Appropriate capacity should be allowed for stable performance.
Electrical components should match the voltage and specifications of the LED system. Mixing incompatible parts may cause flickering, overheating or early failure.
Include a Dimmer
A dimmer gives the user more control over the final appearance.
The same wall may need stronger lighting during the day and softer lighting during the evening. Spas, restaurants and bedrooms may also require different brightness levels at different times.
The dimmer must be compatible with the selected:
- LED strip
- Voltage
- Driver
- Controller
- Wiring system
A dimmer cannot fix poor spacing or visible LED dots, but it can improve flexibility after the wall is completed.
Divide Large Walls Into Lighting Zones
A very large salt wall may work better when divided into multiple lighting zones.
Separate zones allow different sections to be controlled individually. They can also make maintenance easier if one driver or strip section fails.
For example, a wide commercial wall could be divided into:
- Left section
- Center section
- Right section
- Upper section
- Lower section
The zones can still produce one consistent appearance when all are switched on together.
Plan Ventilation
LED strips produce less heat than many traditional light sources, but the system still requires ventilation.
The wall cavity should not be completely sealed without considering heat and humidity. Poor airflow may affect the LEDs, electrical components, adhesive and salt surface.
Reliable Himalayan salt wall lighting also depends on airflow around the LED strips, drivers and wall cavity.
Ventilation is especially important in:
- Saunas
- Spa areas
- Salt rooms
- Humid climates
- Commercial spaces operating for long hours
Electrical drivers often produce more heat than the strips themselves. Where possible, drivers should be placed in a dry and accessible location rather than being permanently sealed behind the wall.
Control Moisture
Natural salt attracts moisture from the surrounding air. High humidity can make the surface feel damp and may affect the wall over time.
Before installation:
- Check the room’s humidity
- Repair water leaks
- Complete wet construction work
- Allow plaster and concrete to dry
- Provide ventilation
- Keep wiring and connectors dry
A salt wall should not be installed directly against a wet surface.
In spa or sauna projects, the lighting system and electrical components must be appropriate for the environmental conditions. A qualified installer should review the location before work begins.
Keep Electrical Parts Accessible
LED systems eventually require maintenance. A driver may fail, a connection may loosen or a strip section may stop working.
If every component is permanently sealed behind the salt wall, even a small repair can require removal of several tiles or bricks.
Include an access point for:
- Power supplies
- Controllers
- Dimmers
- Main connectors
- Zone connections
- Electrical testing
The access panel should be discreet but practical.
Test the Entire System Before Closing the Wall
Before installing the final salt pieces, switch on the full lighting system.
Leave it running long enough to check:
- Flickering
- Dark sections
- Loose connections
- Uneven brightness
- Excessive heat
- Dimmer operation
- Driver performance
- Zone controls
It is much easier to correct a lighting problem while the frame is still open.
Arrange Salt Colors Before Installation
Lighting can make differences between salt pieces more noticeable.
Before fixing the tiles or bricks permanently, arrange them on a clean, dry surface and compare their shades.
Avoid placing all the darkest pieces in one corner unless that is part of the intended design. Mix light, medium and dark pieces across the wall for a balanced natural appearance.
A photograph of the planned layout can help the installer follow the chosen pattern.
Use Suitable Adhesive and Support
LED lighting does not reduce the weight of the salt wall.
The supporting frame, surface and adhesive must be suitable for the dimensions and weight of the selected tiles or bricks.
The installation plan should consider:
- Tile or brick thickness
- Total wall area
- Approximate total weight
- Adhesive placement
- Edge support
- Frame strength
- Wall condition
- Lighting cavity depth
Large commercial projects may require professional structural planning.
Common Salt Wall Lighting Mistakes
LEDs Placed Too Close to the Salt
This can create visible dots and bright lines.
Insufficient Strip Coverage
Large gaps between strips may cause dark bands.
No Access to the Driver
A failed driver may require part of the wall to be removed.
Wrong Color Temperature
Cool lighting can change the natural appearance of pink salt.
No Lighting Test
The completed wall may look very different from the expected result.
Ignoring Humidity
Moisture can affect the salt surface, adhesive and electrical components.
Underpowered Power Supply
An overloaded driver may flicker, overheat or fail.
Installing Before Wet Work Is Finished
Fresh plaster, paint and concrete can release moisture into the room.
Final Thoughts
Successful Himalayan salt wall lighting depends on careful planning rather than simply placing LED strips behind the salt.
LED backlighting can turn a Himalayan salt wall into a warm and memorable interior feature, but the best results depend on planning.
The lighting should be tested with actual salt pieces before installation. The designer should consider color temperature, LED spacing, wall depth, reflective backing, ventilation, moisture, electrical capacity and future maintenance access.
Pink salt tiles usually allow a brighter glow, while thicker salt bricks can produce deeper color and visual depth. White salt tiles can create a softer and more modern result.
A carefully planned system will help the wall appear balanced, reduce visible lighting lines and make future maintenance easier. Instead of treating LEDs as a final decoration, they should be designed as part of the complete salt-wall structure from the beginning.
One thought on “Himalayan Salt Wall Lighting: How to Plan LED Backlighting”