How Long Does a White Salt Tile Installation Take?

White salt tile installation may take several hours for a small, prepared decorative panel. A larger wall can require several working days, especially when framing, backlighting, or extensive cutting is involved. However, placing the tiles is only part of the schedule. Adhesive curing and final checks determine when the finished installation is ready for use.
If you are planning a home feature wall, spa interior, or sauna project, it helps to separate hands-on work from waiting time. A wall may look finished before the bonding system is ready for normal operating conditions.
This guide explains the main stages, practical scheduling allowances, and common delays to discuss with your installer.
What Affects White Salt Tile Installation Time?
Two walls with the same dimensions can take different amounts of time to complete. The condition of the existing surface, installation method, and lighting design all affect the workload.
The main factors include:
- Wall size: Larger areas require more handling, alignment, and inspection.
- Surface condition: An uneven or unsuitable wall needs additional preparation.
- Support system: Framing, rails, or other supports add work before tile placement.
- Tile layout: Simple rows are usually easier to plan than detailed patterns.
- Backlighting: Wiring, mounting, and testing must happen before the wall is closed.
- Cutting: Corners, edges, and openings require careful fitting.
- Adhesive requirements: Working time and curing conditions influence the schedule.
HSW’s white Himalayan salt tiles are listed in an 8 × 4 × 1-inch format. Confirm the dimensions and quantity for your chosen pack before planning the layout. Premium Salt Wall Tiles
White Salt Tile Installation Time by Wall Size
The following ranges are illustrative scheduling allowances, rather than measured installation rates or HSW completion guarantees. They assume materials are available, access is straightforward, and an installer has approved the construction method.
| Project | Suggested hands-on scheduling allowance |
|---|---|
| Small decorative panel, approximately 2–5 sq. ft. | Several hours to one working day |
| Accent wall, approximately 10–25 sq. ft. | Around one to two working days |
| Feature wall, approximately 30–60 sq. ft. | Around two to four working days |
| Large commercial installation | A project-specific schedule, potentially several days or longer |
Add the adhesive manufacturer’s required curing period to these allowances. Structural changes, electrical work, substrate drying, and delivery delays may also extend the overall timeline.
Ask your installer for two separate dates: when tile placement should finish and when the completed wall can enter service.
Step 1: Measure the Wall and Plan the Layout
White salt tile installation starts with accurate measurements. Record the wall’s width and height, then identify corners, sockets, fixtures, and other interruptions.
An 8 × 4-inch tile has a face area of 32 square inches. That equals approximately 0.222 square feet, so a simple layout requires about 4.5 tiles per square foot, before cuts and spares.
For example, a 20-square-foot wall would require approximately 90 tiles before allowances. Adding a 10% planning allowance brings the quantity to 99 tiles. Your installer should adjust that allowance for the pattern, edge cuts, and actual tile dimensions.
Next, lay out a representative selection of tiles on a clean, dry surface. This helps you review natural color differences and avoid an uneven visual distribution.
For design inspiration, explore these practical spa salt wall ideas before finalizing the arrangement.
Step 2: Wall Preparation for White Salt Tile Installation
Preparation can take longer than tile placement when the existing wall needs correction.
The installer should assess whether the surface and supporting construction can carry the finished installation. Salt tiles are substantial materials, so the design must account for their total weight, the mounting method, and the intended environment.
Before installation, check that:
- The substrate is suitable for the specified bonding or mounting system.
- Loose paint, dust, and contamination have been addressed.
- The wall is sufficiently flat for the chosen layout.
- Any required framing or supports are complete.
- Moisture problems have been resolved.
Avoid assuming that an adhesive can compensate for an unsuitable wall. Likewise, newly applied preparation materials may require their own drying or curing period.
Step 3: Install and Test Backlighting
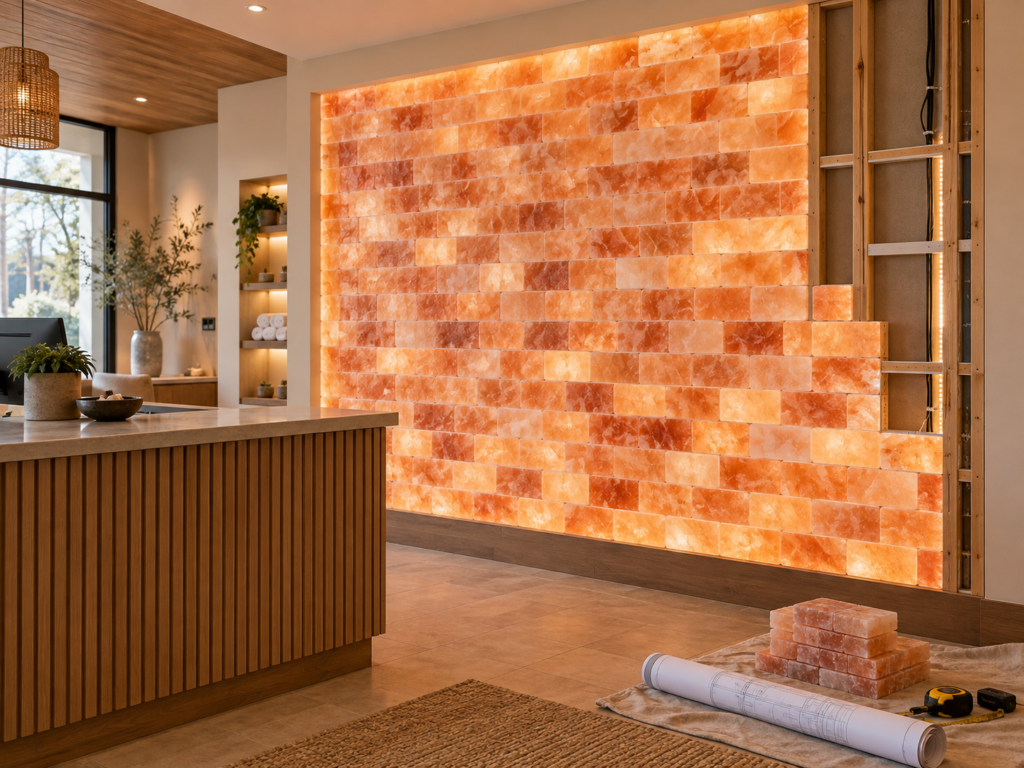
A backlit wall requires additional planning before the tiles go into position.
The lighting layout should provide the desired appearance while allowing access to serviceable components. For sauna projects, the lighting system, wiring, and component locations must suit the actual operating conditions.
Complete the lighting work in this order:
- Confirm the lighting and mounting design.
- Install the specified components.
- Test the lighting before closing the assembly.
- Check the appearance through a sample tile arrangement.
- Confirm how future maintenance will be carried out.
Testing early helps prevent delays caused by reopening a finished wall to correct wiring or uneven illumination.
Step 4: Place and Align the White Salt Tiles
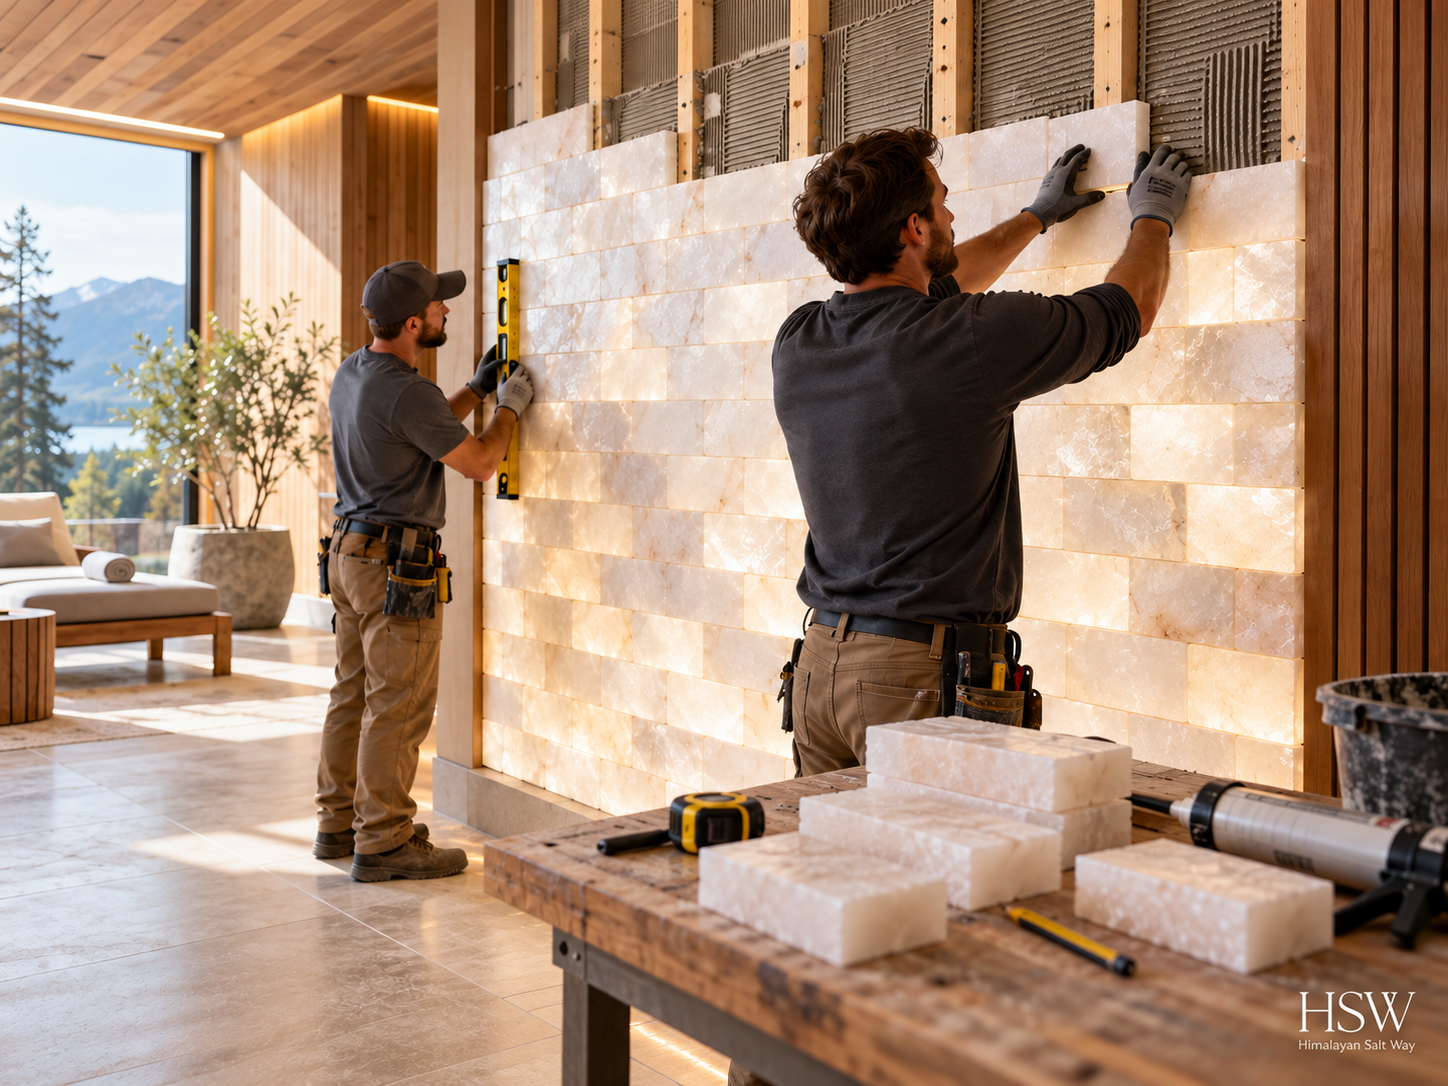
Once preparation is complete, the installer can begin placing the tiles using the approved installation system.
A straight starting line is particularly important. Small alignment errors in the first rows can become more noticeable as the wall grows.
During placement, the installer should check:
- Row alignment and spacing.
- Tile orientation and color distribution.
- Edge cuts and corner details.
- Adhesive application against the manufacturer’s instructions.
- Any temporary supports required by the installation method.
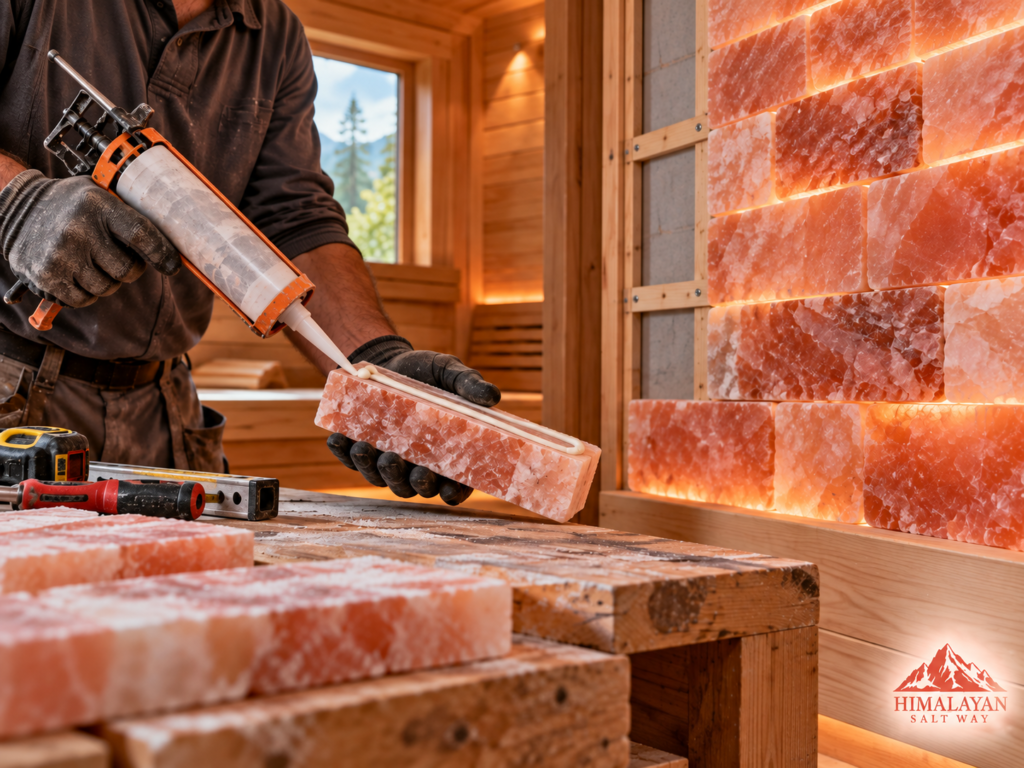
HSW offers Himalayan salt adhesive for salt tile and brick projects. Confirm its suitability for your substrate, construction method, and intended room conditions before application. Strong Glue for Salt Bricks
Keep tools and tiles organized within easy reach. A prepared workspace makes handling more efficient and reduces interruptions.
Step 5: Adhesive Curing During White Salt Tile Installation
Curing is a separate stage of white salt tile installation. Initial grip does not necessarily mean that the adhesive has reached the strength required for service.
The required waiting period depends on the specific product and installation conditions. Adhesive thickness, temperature, humidity, and the materials being joined may affect curing.
Do not assume that every salt wall is ready after 24 or 48 hours. Follow the current manufacturer’s technical instructions. If the product page does not provide a clear curing schedule, request that information before starting.
During this period, avoid disturbing the assembly. Keep any specified temporary supports in place, and wait for installer approval before exposing the wall to its intended operating conditions.
Why Moisture Can Delay the Project
Moisture problems should be addressed before installation begins.
Natural rock salt is water-soluble. The U.S. Geological Survey explains that halite deposits are highly soluble. Direct water exposure and persistent condensation therefore deserve careful consideration when selecting a location for a salt feature. U.S. Geological Survey
A pale or white appearance does not make a salt tile waterproof. Avoid treating it like a conventional ceramic wall finish.
If your proposed location experiences frequent steam or condensation, read HSW’s guide to using Himalayan salt tiles in a steam room before committing to the design.
Can White Salt Tile Installation Be Finished in One Day?
A small installation may be possible within one working day when the wall is ready, materials are available, and the layout is straightforward.
However, a one-day installation does not automatically mean a one-day return to use. Adhesive curing, inspections, and electrical checks may continue after the tiles are placed.
For a commercial spa, schedule the work around both stages. This makes it easier to plan room access and avoid promising a reopening date too early.
How to Reduce Avoidable Installation Delays
The most useful preparation happens before installation day.
Confirm the tile quantity, support design, adhesive instructions, and lighting arrangement in advance. Inspect the shipment when it arrives, and identify damaged pieces or quantity discrepancies before the installer starts.
Also, agree on who is responsible for electrical work, surface preparation, and final approval. Clear responsibilities prevent unfinished tasks from interrupting the installation.
If you need help selecting materials, contact Himalayan Salt Way with your wall dimensions, room type, and preferred lighting arrangement.
Frequently Asked Questions
Does a white salt wall take longer to install than a pink salt wall?
Color alone is unlikely to determine installation time. Tile dimensions, mounting method, wall condition, cutting, and lighting usually have a greater effect on the schedule.
When can I use a sauna after installing white salt tiles?
Wait until the adhesive has met its specified curing requirements and the installer has approved the completed assembly for the sauna’s operating conditions. Tile placement alone does not establish readiness.
Can I install white salt tiles myself?
A small decorative project may be manageable for someone with relevant experience and a suitable installation system. Larger walls, uncertain substrates, and backlit sauna installations benefit from professional assessment.
Does backlighting add installation time?
Yes. Mounting, wiring, testing, and planning maintenance access add tasks before tile placement. The additional time depends on the lighting design and existing electrical provision.
What should I ask an installer before booking?
Ask about surface preparation, structural support, tile placement time, adhesive curing, lighting work, and final approval. Request a schedule that distinguishes installation completion from readiness for use.